
Documentation and online training
Language
Install
Tutorials
Advanced tutorials
Need help ?

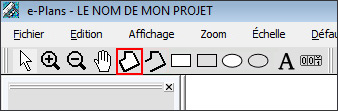
Take Measurements
The types of measurements
Before starting, it is important to know that there are different types of measures:
The surfaces

Ideal for measuring floors, ceilings, roofs, etc.
E- Plans offers 3 types of surface: Polygons, rectangles and ellipses.

The perimeters
Ideal for measuring the length of walls (gypsum, brick, etc.)
The counters
Counters are used to count various items on your plan. ( The number of windows, doors, etc.)
![]()
Associate a measure with a product
Products.
The products are all the materials you will use to complete your project. The measures will be associated.
Example: if you have to put a hardwood floor in 2 rooms, you will take 2 measures and you will associated these measurements whit a single product (hardwood floor).
The association.
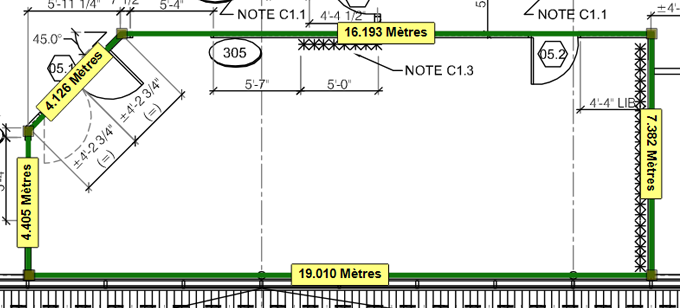
Let’s start whit a rectangular surface.
- On the products tab, check Harwood floor whit the mouse.
- In the toolbar select the rectangular surface tool.

- Whit the left mouse button, click on the first corner of your rectangle, do not release the button and draw the rectangle.
- Release the mouse button when you finish drawing.
Note : It is important to uncheck the product when it is no longer measured.
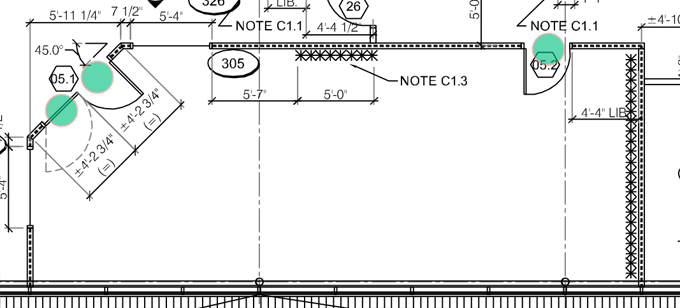
Now for polygon surfaces.
- On the Products tab, check Ceramic floor whit the mouse.
- On the toolbar select the polygon Surface tool.
- With the left mouse button, click on the first corner of your surface to be measured and continue by clicking on each corner of the surface.
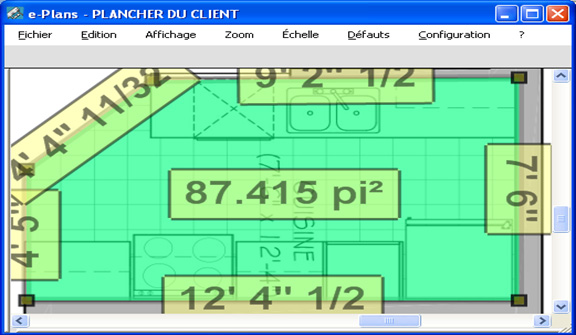
- At the last double corner click to close the polygon.
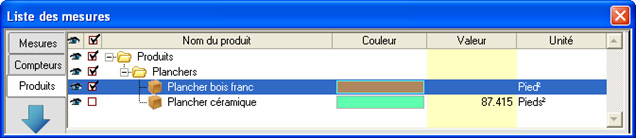
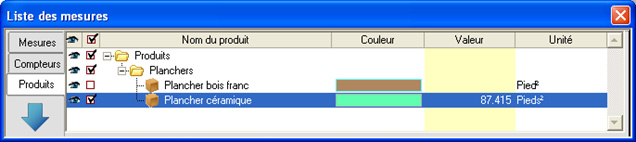
Note: You will notice that the surface measured corresponds to the color of the selected product and that the total of the measurement has been added to the products.
And finally the counters
- On the Products tab, check a product was created as a counter. Example Doors or windows.
- In the toolbar select the counter tool.

- With the left mouse button, click each item you want to associate whit this product.
Note: To count a new product, uncheck the product select, check a new product, and then select the counter tool again to start a new counter.
Next step ; Product management >