
Documentation and online training
Language
Install
Tutorials
Advanced tutorials
Need help ?

Measuring the area of a roof
In this chapter we will see how to calculate the area of a roof.
Understand the perspective
Obviously, when you look at a plan (paper or digital), you look at a 3-dimensional entity represented by a 2-dimensional drawing. It is important to specify the tilt of the measurements you will take so that e-Plans can measure the area in 3 dimensions.
Here is an example of a residential plan:
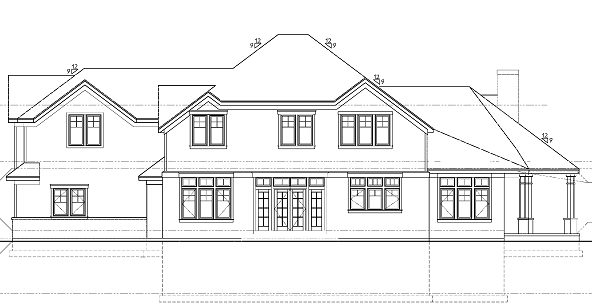
As specified in the previous tutorials, we will take the measurements of the roof as if it were a standard surface.
Apply a tilt
On the roof plans, you will always find the detail of the inclination, usually represented as follows :
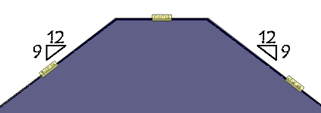
It is important not to include surfaces of different inclinations to the same extent.
2 slopes = 2 measurements.
Select a measurement and go to the "Properties" toolbox in the left panel. Then select the "Slope" tab.

We will select "Elevation" since we have a front view. If we had had a high view, we would have chosen "Plan".

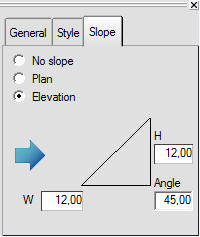
The blue arrow indicates that the calculation will be done in "Elevation" mode as requested. As specified on the map, we have a slope of 9/12. We therefore enter a height of 9 for a width of 12. The angle of 36.87 degree is calculated automatically.
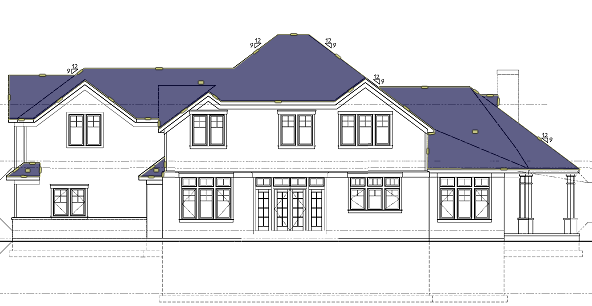
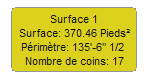
Before applying the slope (370.46 ft²):
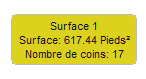
After applying the slope (617.44 ft²):
You just have to apply the right slope to each of your measurements!