Documentation and online training
Language
Install
Tutorials
Advanced tutorials
Need help ?
Define the scale of your plans
To ensure that the measurements you make on the screen are accurate, it is important to clearly define the scale of each of your plans. When you work whit a map whose scale is not specified, your cursor displays this image:
There are 2 ways to scale a plan
1) Drawing the scale manually whit the cursor
The first method is to draw a line on your plan and indicate the length that this line represents. E-Plans will automatically calculate the scale. Here is an example of plan:

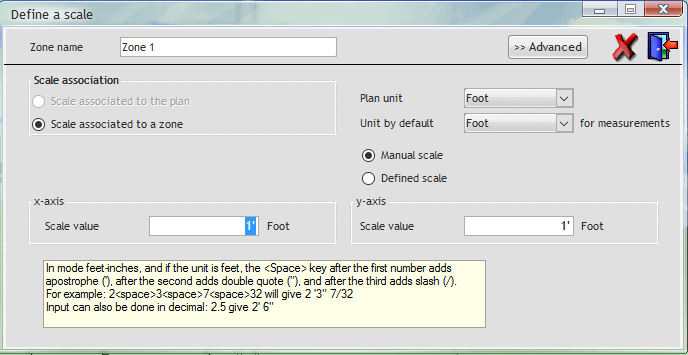
In this example, the measurements are in millimeters. It is recommended to choose the greatest possible measure on the plane to obtain more precision. We will therefore draw our scale on the measurement of 6,096 meters. Click at the beginning of the measurement and then click at the end of the measurement, a window will open:

You must first select the unit of measurement and enter the length of our scale in the abscissa, 6,096 meters. Close the window to continue.
2) By entering in the menu the scale defined in the plan
The second technique is to enter the scale manually as shown on the map. In our example, we find this:
![]()
From the top menu, click "Scale defined in the map" or press F2.

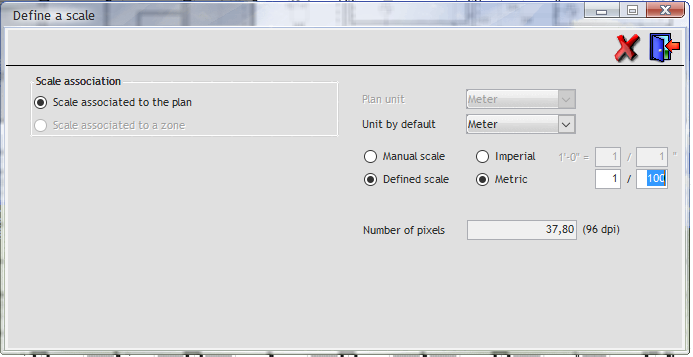
This window will open:

Since we are in millimeters, we choose "Metric" and we enter 1/150.
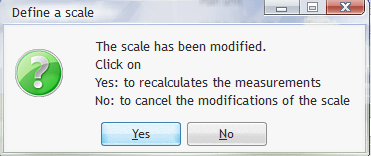
Note: This message will be displayed.

Check scale
Now that our scale is specified, it is important to make sure it is fair. To do this, e-plans provides you whit a series of tools that will allow you to take linear measurements on your plans. You will find these tools in the top section as follows:
![]()
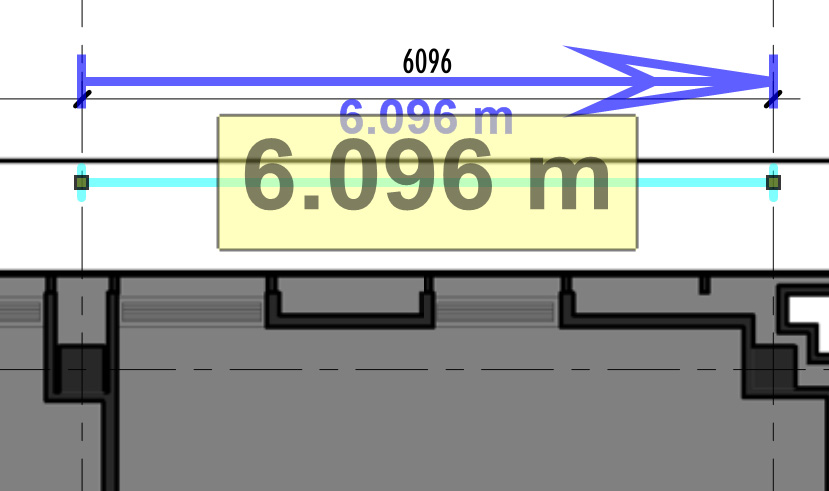
This tool is used as the scale tool, you click a first time at the beginning of the measurement and a second time at the end.
As expected, our measure of 6096 millimeters gives us well 6,096 meters!
You are now ready to take your measurements !
Next step ; Take Measurements >


